ProPresenter – My Font Has An Acute Case Of “Devils Horns”

Some letters start to grow little “devils horns”
This seems to be the default (and only) option for stroking fonts in ProPresenter (up to 7.16.2 at the time of writing).Some applications offer additional control on how the stroke joins are drawn and these additional controls can be used (in those other applications) to limit the horns/spikes.
- Appling a “limit” to cut off a Mitered join
- Rounded Joins
- Beveled Joins

- Workaround 1: Reduce thickness
- Workaround 2: Select a different font that has no highly-acute angles in the letters
Let the Nerd Fun Begin!
Let me show you how to remove the “highly acute” angles (aka “Sharp angles”) by editing the outline of the font letters using a font editor and then save as new font – It’s not too hard! There are freely available font editors for both Windows and MacOS. I’ve tried a couple of free font editoer and I like BirdFont and/or FontForge.
In this demo, I’ll use FontForge.
Where are the font files for existing fonts on my system?
MacOS:
User Fonts are in ~/Library/Fonts
System Fonts are in /System/Library/Font
Windows:
User Fonts are in %LOCALAPPDATA%\Microsoft\Windows\Fonts
System Fonts are in C:\Windows\Fonts
On either OS – If you want to edit a system font on MacOS, then I suggest to first make a copy of it in a non-system locatin (eg your desktop).
Then you can install and run FontForge.
Open the font in FontForge. NB .ttf and .otf are common font files, but there are also font packages with multiple fonts inside (eg .ttc). These mulitple packages have a font for each style (bold/light/Oblique/etc)
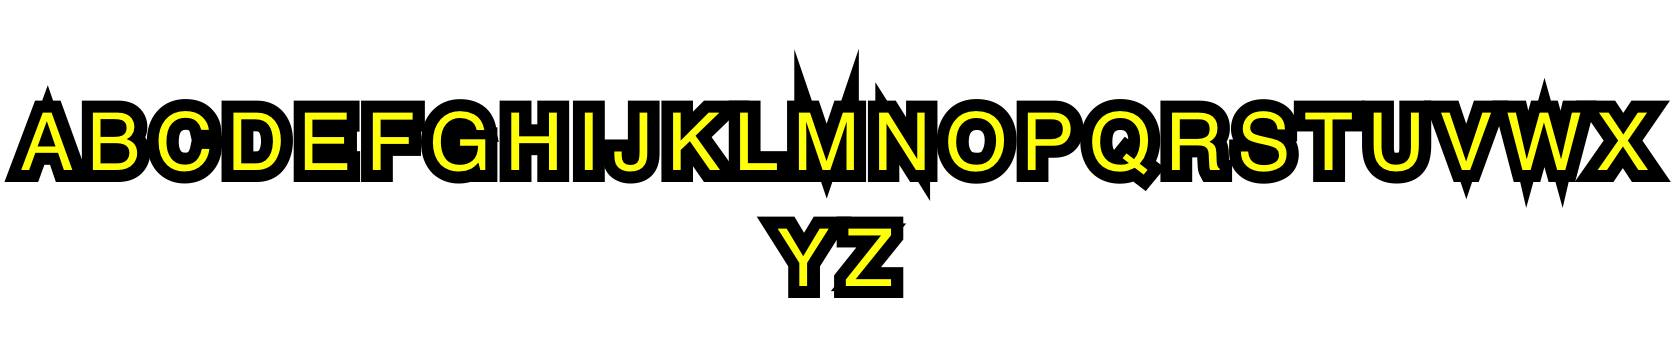
You will need to know which letters cause the horns. Did you notice the first image in this blog post – it’s a single slide in PropPresenter with the entire alphabet – both upper and lower case and all the numerical digits in a single text box that has a thick stroke applied – making it ewasy to see which letters or number have horns. These are the character glyphs that you need to edit in the font editor.
The trick is convert a sharp angle into tiny bevelled angle. A bevel so small the modification is unnoticeable and the font is essentially unchanged.
You do this by zooming very very close into the sharp points of acute angles and adding a second point a tiny distance from the sharp point to convert it to a tiny bevel.
To add a new point you click the “Add Corner Point (5)” button: (or press 5 on your keyboard)

Here is an example of removing one of the sharp angles in the capital letter W:

After all the sharp angle are change to tiny bevels (with one extra point) you can go to the font properties and give it a new name (eg Helvetica-Hornless)
Editing the letters caused the font to discard hinting instructions for those letters. This basically ruined those letters for use at very small sizes – but I would never use the modified font in Pro6 at very small sizes – so I felt no need to remediate that.
Now make sure to update the properies of the font to change it’s name by going to the Element meni and selecting Font Info:


When you get a warning about changing the font UID, select “Change”

You can now save your new hornless font project (for future editing). This is just a FontForge project file…
To make a new font file, you need to GENERATE a new font.
The default option is a .ttf (which is probably fine)

Once you have a .ttf file, you can double-click that file to install it!
